Posted on Leave a comment

How to Install Shower Doors on Tile

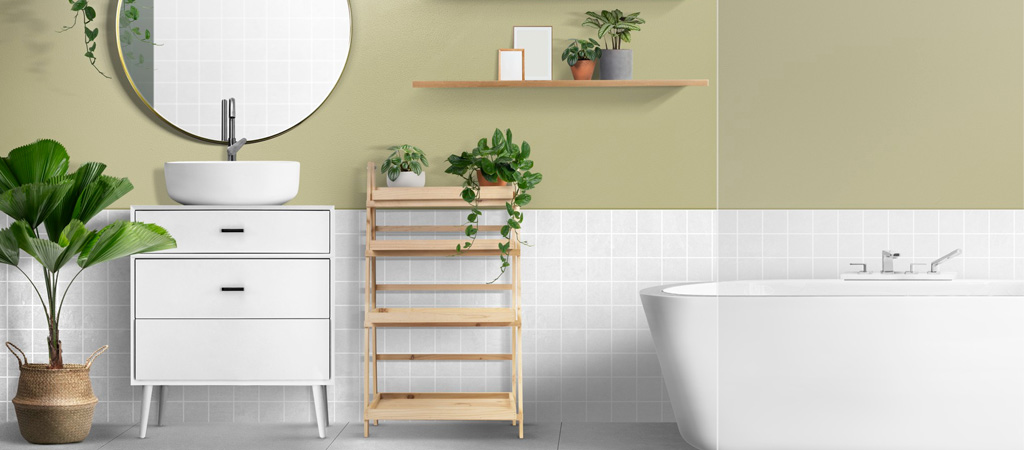
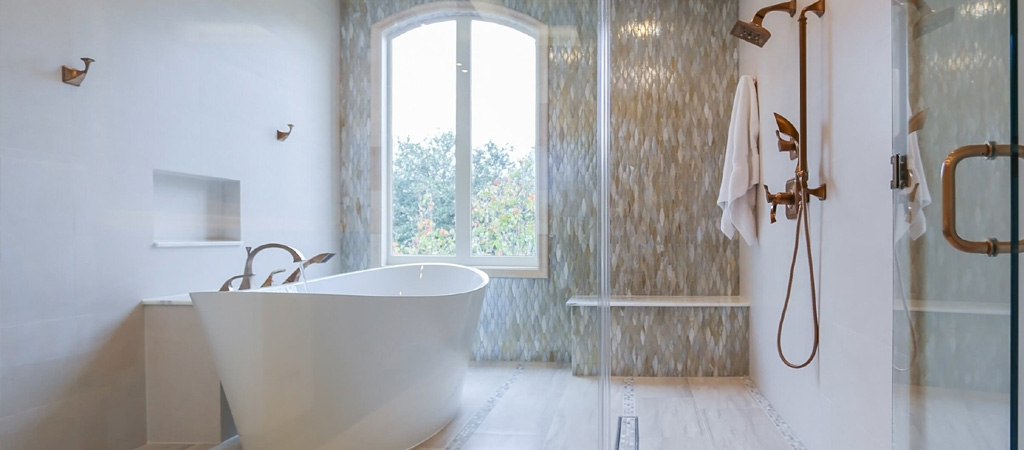
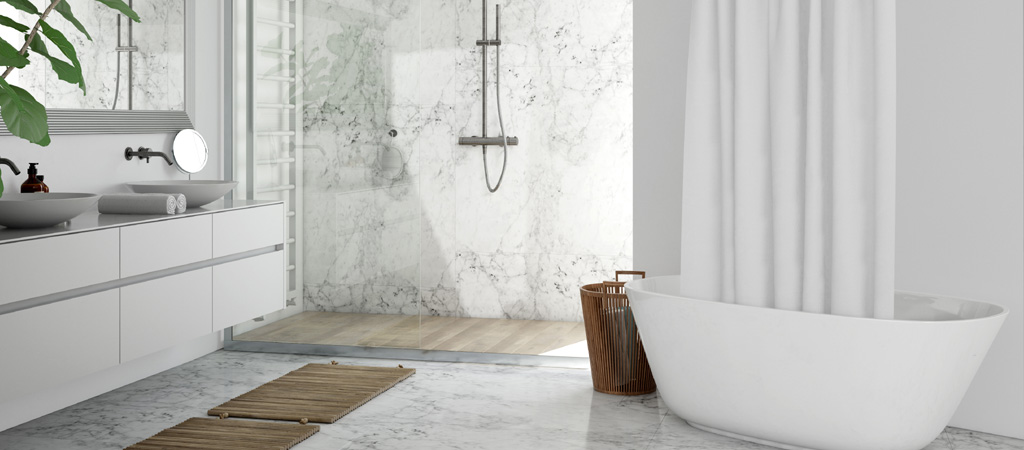
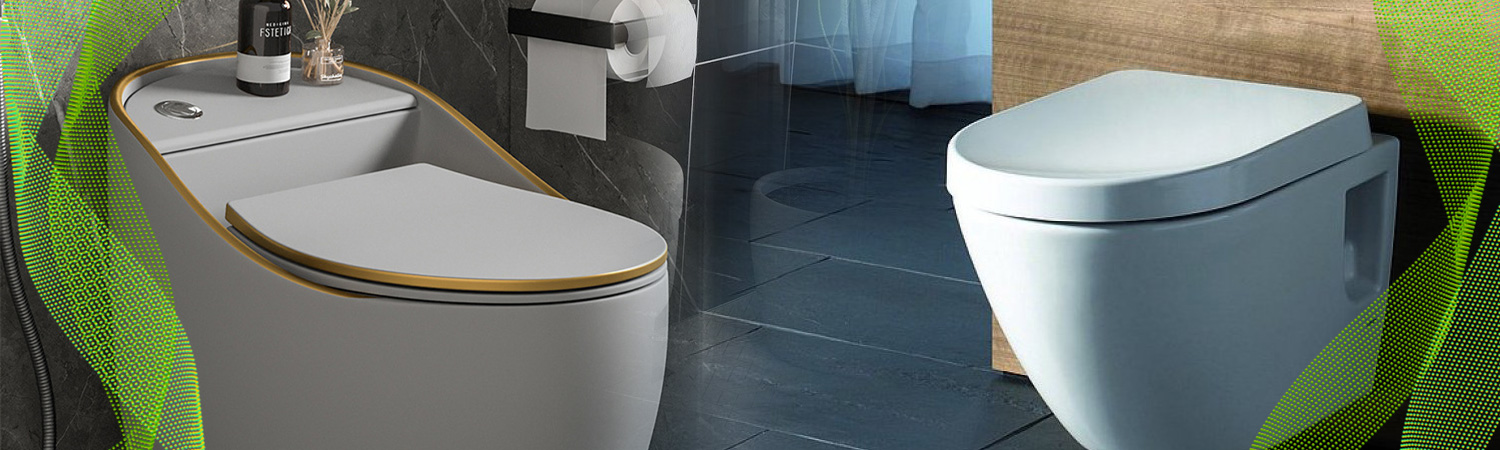
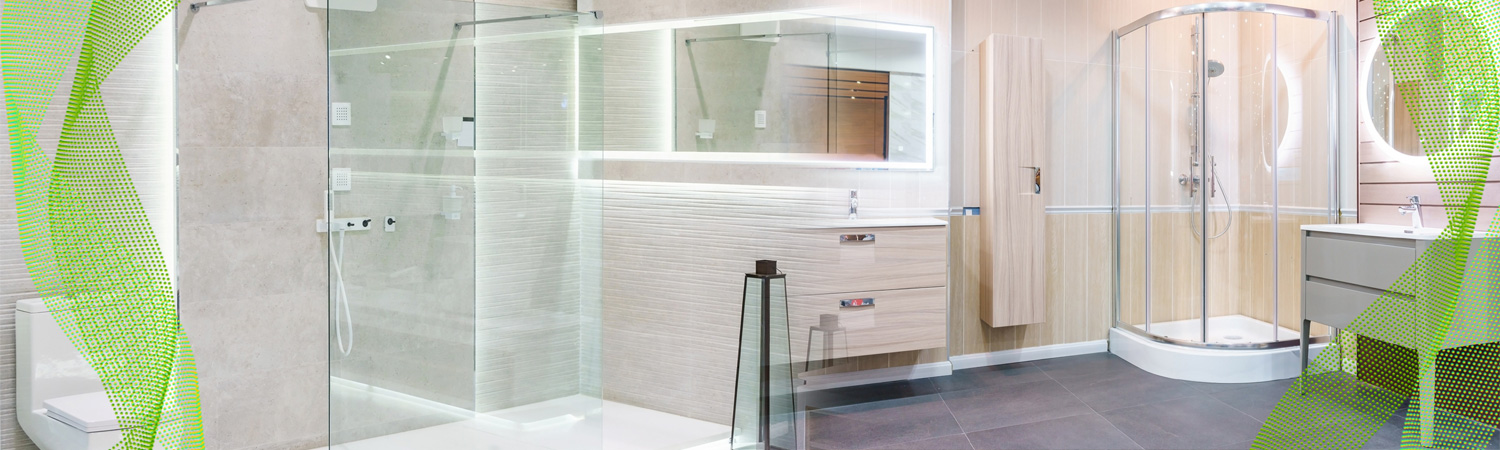
Glass shower doors are a perfect completion to a tiled shower enclosure, offering a more attractive and effective water containment than a traditional shower curtain and rod. Glass doors can be clear or frosted for privacy, and there is a range of track finishes to match almost any bathroom décor.

Step 1

Clean the tile surface with a household cleaner to remove any film or dirt from the tub ledge and tile surfaces where the frame of the shower door is to be installed.

Step 2

Measure the inside width of the shower at the top surface of the tub ledge, from wall to wall. Mark this dimension on the bottom track piece of the shower door frame.

Step 3

Use a hacksaw to cut the bottom track piece to the length determined in Step 2. Use a metal file to smooth any rough edges from the cut. Also use the file to ease the lower corners at the ends, if necessary to allow the track piece to fit firmly flat on top of the tub ledge. Important: Make certain the deeper door channels are facing up before marking and making any modification to the track corners.

Step 4

Place the bottom track piece on top of the tub ledge, centring it on the flattest portion of the ledge surface. Measure the distance to the edge of the tub ledge to confirm the track is centred, then use masking tape to temporarily secure the track in position. Tape both ends, the middle and along the track as needed to hold it firmly in place. Use a soft-lead pencil to draw a line along the front edge of the track on the tub ledge.

Step 5

Position the right-side vertical frame piece against the right wall, slipping the lower end into the bottom track. Make certain the side-frame piece fits down fully into the bottom track. Use a metal file to ease the lower corners of the track slightly, if necessary to get a tight fit into the lower corner where the tub ledge and the wall tile meet.

Step 6

Use a level to hold the frame piece plumb. Mark the screw holes in the track on the tile surface with a pencil. Set the vertical track piece aside.

Step 7

Repeat Steps 5 and 6 for the left-side vertical side frame piece.

Step 8

Center-punch the screw hole locations marked in Steps 6 and 7, using a hammer and a nail set. It is only necessary to nick the tile glazing slightly as a pilot point for the holes.

Step 9

Use an electric drill with a 3/16-inch masonry or tile-cutting bit to slowly drill out each screw hole. Surface chipping can be minimized by placing a small piece of masking tape over the mark before drilling. After drilling the hole, use a hammer to tap plastic screw anchors into each hole.

Step 10

Remove the tape holding the bottom track in place. Turn the track over and run a 1/2-inch bead of silicone caulk in its front and rear channels. Keep the bead slightly higher than the depth of the channel flanges.

Step 11

Place the bottom track in position, aligned with the pencil lines marked in Step 4, and press it down flat on the tub ledge surface.

Step 12

Run a 1/2-inch bead of silicone caulk in the front and rear channels of the right-side vertical frame piece. Keep the bead slightly higher than the depth of the channel flanges.

Step 13

Position the right-side vertical frame piece in place, inserting the lower end into the bottom track. Make certain not to move the lower track out of alignment with the pencil lines you made on the tub ledge. Align the side track with the screw anchors installed in Step 9. Use a Phillips screwdriver to insert the screws provided with the track into each anchor location. Tighten them until the track is held firmly against the tile wall surface.

Step 14

Repeat Steps 12 and 13 for the left-side vertical door frame.

Step 15

Measure the inside width of the shower at the top of the two vertical door frame pieces, from wall to wall. Mark this dimension on the top door track piece of the shower door frame.

Step 16

Use a hacksaw to cut the top track piece to the length determined in Step 2. Use a metal file to smooth any rough edges from the cutting.

Step 17

Insert the top door track piece into position. Secure to the vertical side track pieces with the screws provided, inserting the screws through the predrilled holes at both ends of the track.

Step 18

Install the inside door by slipping the top of the door panel into the upper inside channel, then swinging the bottom of the door panel into the lower inside track. Position the inside door panel against the vertical wall frame nearest the showerhead. Install the plastic panel guide into the bottom track, just behind the inside vertical edge of the door. Secure the guide in place with the screws provided.

Step 19

Repeat Step 18 to install the outer shower door panel into the outer door channel, with the towel bar/handle facing outward.

Step 20

Install the door bumpers in the vertical track channels by snapping the bumper tabs into the predrilled holes in the channels.

Step 21

Apply a 1/8-inch bead of silicone caulk around the outside and inside of the door frame where the frame meets the tile and tub ledge surface. Allow the caulk to cure for a minimum of 24 hours before exposing it to moisture.

Must Check:https://ortonbaths.com/the-drawbacks-of-a-two-piece-toilet/

Must Check:https://ortonbaths.com/the-significance-of-wc-in-european-toilet-terminology/

Posted on Leave a comment

Why bathroom design is so important?

When you visit a friend’s apartment or house for the first time and ask for a tour, the living room sparks a conversation about the exposed brick or any photos, instruments, or unique items on display, the stove and dishwasher are the talked about amenities in the kitchen, the bed is the centerpiece of the bedroom, and the bathroom gets an “It’s over there” with a point in that direction. The only way a bathroom is getting shown off is if it was just remodeled. Otherwise, a bathroom is a place that you go, but don’t talk about.

It wasn’t until I searched for apartments in New York City that I understood the importance of the bathroom. Then again, seeing apartments in which you can’t sit down on the toilet without your knees hitting the wall will do that to you.

1. It’s where you start and finish each day. You wake up, use the toilet, wash your hands, take a shower, brush your teeth, style your hair, and are out the door. Before going to bed, you relieve yourself, wash your hands, brush your teeth, remove makeup or wash your face, apply any creams or moisturizers, and are then ready for bed. The average person will spend about 1.5 years of his or her lifetime in the bathroom.

2. It’s the ultimate judgment zone. Anyone entering your home is probably going to use your bathroom at some point. If there are urine stains on the toilet seat, random stray hairs everywhere, toothpaste in the sink, brown marks surrounding the bowl, and no soap in the dispenser, your friends, family, and any guests visiting your home will think you’re gross. And they’ll be right.

3. It’s also a judgment free zone. You don’t have to worry about what you’re wearing, how you look, and can take as much time reading the paper or doing anything else that you want in the bathroom as long as there’s no one else waiting to use it after you.

4. It sets the tone for the rest of your home. Do you have candles, artwork, and matching towels on display or only old newspapers out and a few rolls of toilet paper sitting on the counter? This isn’t the place to take any décor shortcuts.

5. It’s where inspiration strikes. Get your best ideas in the shower? Enough said.

6. It offers solitude and serves as a great hiding spot. If you want to take a break from anyone or anything, this is the place to go. The majority of people know better than to bother someone using the bathroom. You’re safe as long as the door is locked.

7. It’s a good place to decompress. If you had a bad day or just want to disconnect from the world for a little while, there may be no better way than taking a long bath or hot shower.

8. Try not being able to use it… You don’t realize the importance of your bathroom until you really need to use it and someone else is already in there or there’s a temporary plumbing issue.

Posted on Leave a comment

Difference between UF vs PP Toilet Seat Cover

Toilet seat covers disposable sanitary items commonly found in public restrooms. They are intended to protect the users of the toilet from germs left by other users. Therefore, it is essential to have a toilet seat cover for our restrooms. However while buying a toilet seat, one of the first thing to consider is the type of materials. Generally speaking, this comes down to Plastic (PP) and Urea Formaldehyde (UF), which of them are both the two popular materials on the market.

UF (Urea-Formaldehyde, Thermoset)

Distinctive features :

The thermoset material is unscratchable.
-Very easy to clean and even after years looks like at the first day
-A high quality material and aesthetically looks like ceramic
-Resistant against cigarette burns.
-The most common color is white, whereas different colors are available on the market.
-Can be printed.
-Sounds more deep and less “plastic”.

PP (Polypropylene, Thermoplastic)

Distinctive features :

Synthetic resin (grains) softened and transformed by injection.
-Shiny look
-Unbreakable
-Interesting prices
-Static effects (i.e. dust sticks on the material), not scratch resistant
-“Plastic” look
-Often very lightweight (but therefore also cheap)

UF toilet cover for WC toilet parts Bathroom sanitary. Scratch resistant and High hardness. Therefore more expensive than PP.  PP is much cheaper, it’s a matter of choice! 


Must Check:https://ortonbaths.com/the-one-piece-toilet-in-germany-combining-style-efficiency-and-easy-maintenance/

Must Check:https://ortonbaths.com/two-piece-toilets/

Posted on Leave a comment

Handmade Sink VS Drawn Sink

There are two kinds of kitchen sinks in the market, handmade sink and drawn sink.

What’s the difference between them?

  1. Thickness:

The thickness of handmade sink is around 1.2-1.5mm, this thickness of the stainless steel sheet can not be drawn in the mould on the stretch processing, otherwise it will break easily.

The thickness of drawn sink is impossible to exceed 0.8mm.

  1. Processing

The handmade sinks are made by laser welding, therefore, the requirements of the plate and equipment is higher. While the drawn sink is pressed in the mould, which means also easier.

Visit Now:https://ortonbaths.com/how-to-install-shower-doors-on-tile/

Visit Now:https://ortonbaths.com/separating-wet-and-dry-areas-in-bathroom/